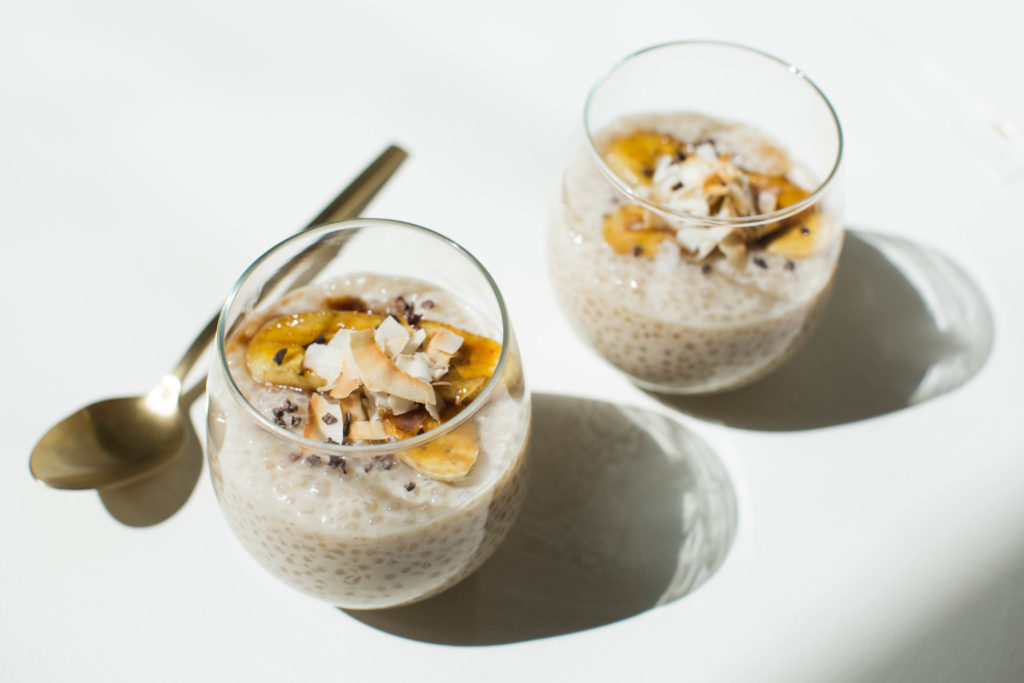
Recipes: Coconut Tapioca Pudding with Caramelized Bananas
I kind of left you hanging a few posts back on what happened to my world after the flood. It’s been three months now since we were evacuated out of our home, and as of last week I have finally moved back into my “end of the road” apartment. Having a kitchen and bed of my own again has never felt better, and I’m getting my feet back on the ground after what felt like months of floating. But I’m still digesting the emotions and insights from this experience. I’m finding there are so many layers, from personal revelations to cultural connections, to the many environmental and political conversations. It’s left me straddling the desire to dive in and share my reflections, and also hold them quietly and close to my heart.
I will say that life at the end of the road has changed a lot in three months. Since the storm took out the main road in April and reconstruction has been a slow process, the community has gotten a reprieve from the thousands of tourists that were filling the area each day. A one lane military escorted convoy has become our norm. Four time windows a day we can drive in and out of a six mile stretch of road into town with checkpoints on either end, making it such that only residents with special passes can access the area. There’s not a selfie-stick in miles to be found now! And for the first time in a decade, kids rule the roads again, riding their bikes like kings of the night as they return home from a long day at the beach with their gang. It’s also given space for the community to clean, repair, rebuild and collectively process the experience. There’s been space for the community to truly connect and explore deeper systemic questions around land management and infrastructure that needed this time and space to explore from new angles.
In an immediate response to the flood, neighbors came together to share resources and support each other like family, and that energy has continued through the months. It’s given me a real understanding of what “living with aloha” really means. I was grateful beyond words to be welcomed into my friends home for a while to rest and recover from the experience while I waited out the reconstruction of my home. Their kitchen became a respite for the three of us, as we spent many afternoons cooking and eating together…because when the road to town is closed and the rain persists, what else are you going to do? We had several competitive cook-offs, challenging each other to see who could recreate the best Honey Mama’s raw chocolates, banana bread and tapioca pudding. All the best comfort foods, right?
 It was the comfort food, good friends and slow days sitting by the river that were the most nourishing moments for me the past few months, giving just enough space to be able to deeply feel all the layers the experience had brought to the surface. There’s something to be said about having everything that’s illusory quickly stripped away by nature’s power to hasten the process of examining your world view.
I had made the decision to make Kauai a full-time home, not because there are beautiful beaches and sunshine and Instagram-worthy views left and right, but because I felt the connection to both nature and the kind of community I craved. For me, being an online entrepreneur had started to feel more like an island itself than living on an actual island. I was spending sometimes 10-12+ hours a day on my computer and phone, connecting with clients abroad and creating content online for a community that I might only interact with through 150 characters or less. It felt isolating at times, and a little maddening that my everyday world was seemingly more curated and shaped by an algorithm that knows my key strokes better than I know myself at times. I needed my feet more firmly rooted in the objective world. And my Sankalpa this year has been to cultivate clearer seeing and understanding of the true nature of reality.
It took a flood to literally shake up some old habits and beliefs to get me reconnecting with nature in a more tangible way. But as a direct product, I’ve gotten to experience and understand the elements in a way far more palpable than reading about them in an Ayurveda book. I’ll be sharing more on this thread in the coming posts…but for now, onto the question I’m sure you’re equally curious about…what the heck is tapioca anyways? Read on…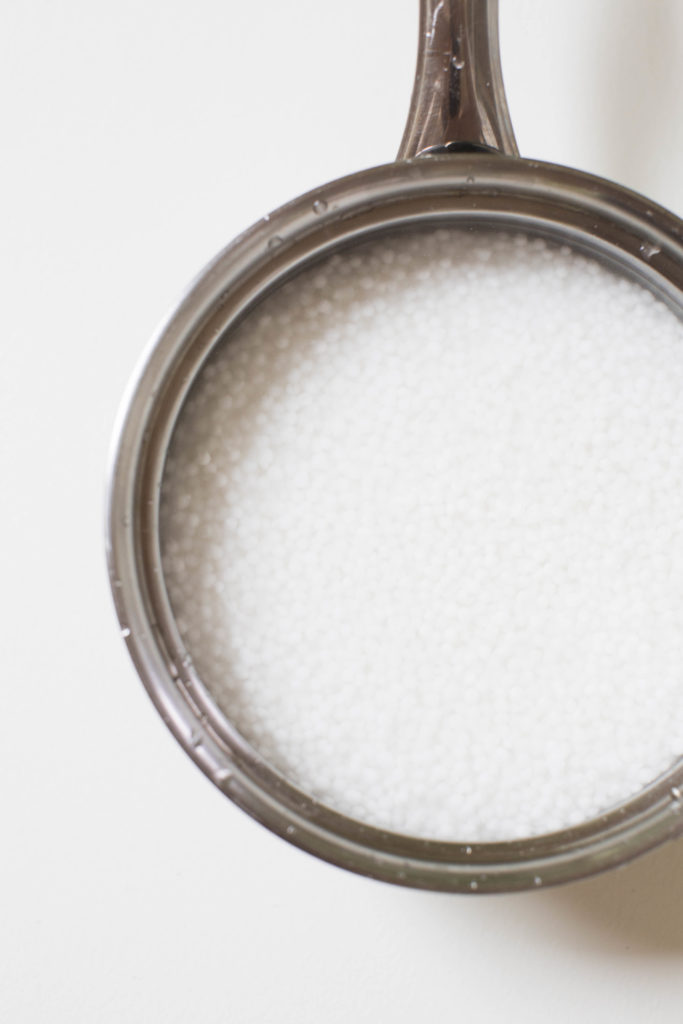 I had to do a little research myself because, to be honest, I hadn’t eaten it since childhood, let alone cooked with it in any meaningful way. Tapioca actually comes from the cassava plant (Manihot esculenta), which grows locally here in Hawaii and across South America, the Caribbean, Thailand and parts of Africa. Cassava is a tuber, and while the leaves can be used for some more medicinal purposes, it’s the root that you get all your flours, pudding and pearls from. Because the fresh roots and leaves contain cyanide compounds and hydrocyanic acid that is very toxic if ingested raw, it’s important that if you are preparing cassava at home that you do so safely. The Food & Agriculture Organization (FAO) published an in-depth document on the traditional ways to process cassava. It’s a pretty labor intensive process that can involve grating, soaking, boiling, fermenting and drying…here are two fun videos to check out from India and Guyana on cassava preparation! After cassava has been well-cooked to remove the toxins, the root is then processed into a flour. Tapioca pearls are made from tapioca starch/flour by mixing it with boiling water to form a dough and then rolled into the desired size balls. Here’s another fun instructional video on making tapioca pearls from a home cook in Vietnam (I’m really digging this newer trend of village/home youtube global cooking channels!). The tapioca balls are then cooked in boiling water until transparent and flavored as desired. Read more in my recipe below on cooking instructions. For those of us who aren’t into the laborious experience of growing, processing and hand-rolling your own tapioca – I feel you. Bob’s Red Mill is the easiest place to find organic tapioca ready to cook.
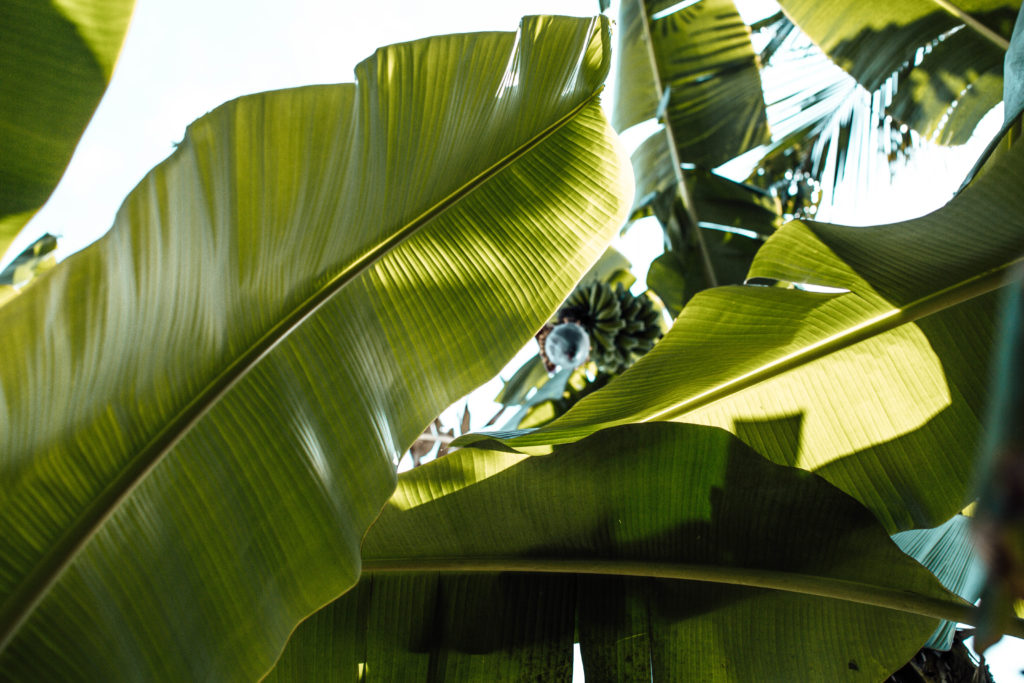 From an Ayurvedic perspective, tapioca is a great summertime treat for Pitta because of how hydrating and cooling it is. Much like chia, it can absorb several times its weight in liquid. It’s naturally sweet, unctuous and slimy qualities make it easy on the digestion for Vata. And when cooked with a dairy-free alternative, like coconut milk instead of cow’s milk, it is friendly towards Kapha, when enjoyed in moderation. Nutritionally, tapioca has a good amount of iron, calcium, folate and manganese. Who knew? It also makes a great neutral base for a variety of flavors and pairings. I went on a bit of a tapioca bender this summer and have since made multiple variations of this recipe all using the same base. Some of the variations included saffron, rose, vanilla, purple sweet potato and a summer variety of an heirloom pumpkin. All were unique and wonderful in their own way. I’ve included this coconut with caramelized bananas because they’re accessible and common ingredients for most geographical locations. You may even explore a nearby Asian market for fresh coconuts and varieties of bananas…or cassava if you’re feeling bold and adventurous!
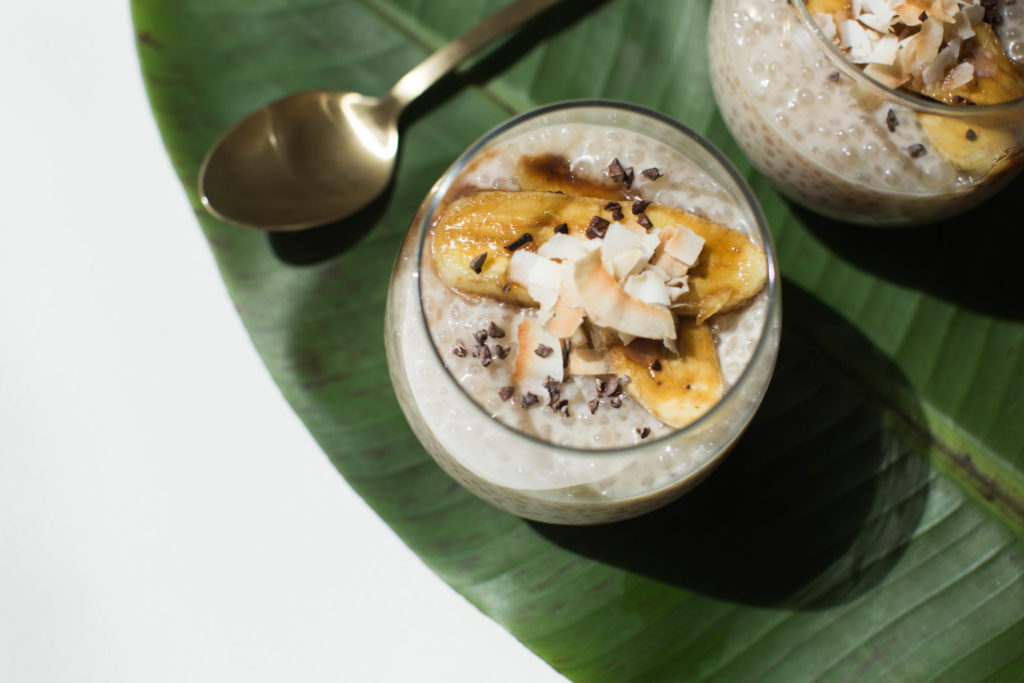
COCONUT TAPIOCA PUDDING WITH CARAMELIZED BANANAS
Tapioca Pudding
1 cup dry small tapioca pearls
4 cups water
4 cups full fat coconut milk
1 cup coconut sugar
1 tbsp vanilla extract
1 tsp cardamom powder
In a medium pot, add the dried tapioca and cover with 4 cups water. Allow to sit for 30 minutes until the tapioca balls start to hydrate and expand.
While the tapioca sit to hydrate, combine the coconut milk, coconut sugar, vanilla and cardamom in a separate pot. Turn heat on medium-low and bring to a light simmer. Stir to incorporate the sugar and spices. Cook for 3-4 minutes until well incorporated. Remove from heat and set aside.
Next, place the pot of soaking tapioca on your stovetop and bring to boil. Reduce heat to low and simmer for about 5 minutes, until the balls become translucent and absorb the water. Stir frequently to prevent sticking and clumping. Transfer cooked tapioca into pot with coconut milk. Stir together until well combined. Allow to sit in the pot until it cools enough to transfer to the refrigerator. Scoop the pudding into a bowl or storage container and place in the refrigerator for several hours to cool. This gives time for the tapioca to absorb the creamy coconut flavors. When the tapioca is ready to serve, prepare the caramelized bananas so they’re warm to serve.
Caramelized Bananas
4 ripe bananas, peeled & sliced
2-3 tbsp coconut oil
1 tsp coconut sugar
Heat a large skillet on high heat. When the skillet is hot, add the coconut oil. Arrange the sliced bananas onto skillet and sprinkle with the coconut sugar. Reduce heat to medium-low and cook slowly until golden on one side. Flip and continue to cook until both sides are sticky and golden. Remove from heat and serve warm atop the tapioca pudding.
To serve, remove the tapioca from the fridge and spoon into a bowl or glass. Layer the caramelized bananas and sprinkle with toasted coconut, cacao nibs and sprinkling of cardamom.
Makes 4-6 servings
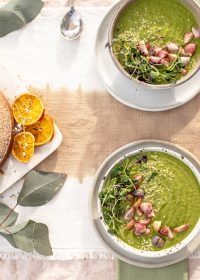 Recipes: Align with Spring + A Giveaway with Anaya Home
 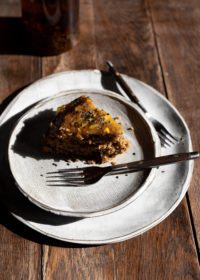 Recipes: Black Sesame & Orange Cake
 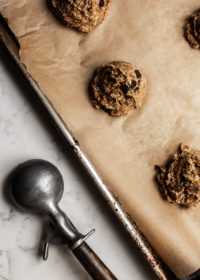 Recipes: Garam Masala Chocolate Oat Cookies
Om Another wonderful newsletter. May I say how much I appreciate your seasonal newsletters rather than a weekly or daily deluge. I know you put a lot of thought and effort into them and I always discover something new and uplifting with each read.
I make tapioca often and shall try your version. I have one question. After my tapioca sits in the refrigerator it becomes gluey. Is there a way to prevent this?
With Om and Prem
Narayani
Thanks for the kind note here, Narayani! I really appreciate the sweet words on the newsletter, it means a lot to me to read this.
Now, onto the tapioca! In my experience, the pre-soaking process really helps to prevent it from becoming gluey, as does the right liquid/fat to tapioca ratio. When it’s fully absorbed the liquid and the mixture becomes dry, I find the texture can become more sticky and paste-like. With enough coconut milk here, it keeps the texture smooth and creamy while it sits overnight.